How to Bridge from Solana and Borrow on Teller

Bridging assets between blockchains is essential for users who want to transfer their tokens across different networks.
This step-by-step guide will show the process of bridging tokens from Solana to Ethereum/Base using PortalBridge (a trusted cross-chain bridge that allows users to move tokens seamlessly between Solana, Ethereum, Base, and other chains).
Prerequisites:
- A Solana wallet (e.g., Phantom, Solflare)
- An EVM wallet (e.g., MetaMask, Rabby) for Ethereum/Base
- Enough SOL to cover transaction fees on Solana
- The token you wish to bridge (e.g., USDC, SPX6900, etc.)
PortalBridge Access:
- Visit the PortalBridge: https://portalbridge.com
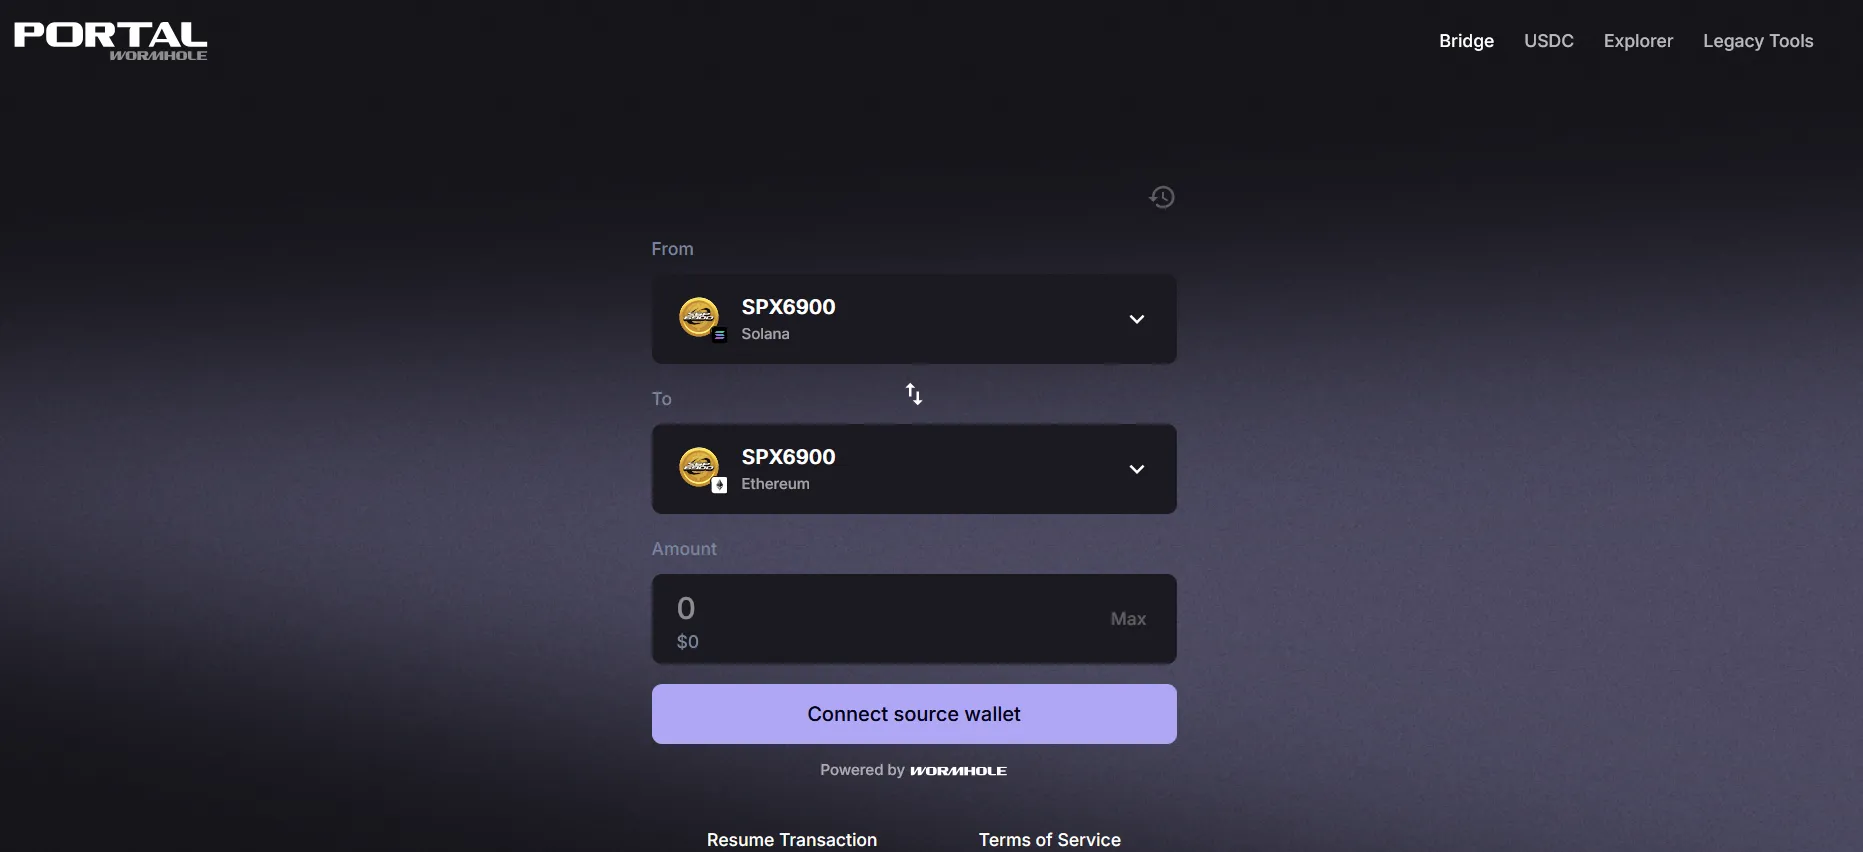
Step 1: Choose Source and Destination Chains
- From field (Source Chain), select Solana.
- To field (Destination Chain), choose either Ethereum or Base.
Step 2: Connect Wallets
- Connect to Solana:
- On the PortalBridge page, click on "Connect source wallet".
- Select Solana and connect the Solana wallet (e.g., Phantom).
- Connect to Ethereum/Base:
- Next, connect the Ethereum/Base wallet (e.g., MetaMask, Rabby) by selecting the appropriate chain on the right side.
Step 3: Select Token and Amount
- Choose the token you wish to bridge. PortalBridge supports a variety of assets like USDC, SPX6900, and others.
- Enter the amount you want to transfer.
Note: The token must be supported on both chains. PortalBridge will show if the token needs to be wrapped for compatibility.
Step 4: Initiate the Transfer
- Click "Next" to continue.
- A transaction prompt will appear on your Solana wallet. Review the details, and then approve the transaction.
Note: The transfer process will take a few minutes, as the bridge needs to validate the transaction.
Step 5: Confirm the Transfer to Ethereum/Base
- Once the transaction is processed, you’ll be prompted to redeem the tokens on the destination chain.
- Click "Redeem" on PortalBridge.
- Approve the transaction in your Ethereum / Base wallet (MetaMask or Rabby).
Step 6: Complete the Transaction
Once confirmed, the tokens will appear in your Ethereum/Base wallet.
Once the tokens are in your wallet go to Teller and connect your wallet, search for the token to be used as collateral for a loan, then deposit and borrow.

Note: Make sure the Ethereum / Base wallet has enough native ETH to cover gas costs.
Why use Teller to borrow?
- No liquidations
- Perpetual loans
- Fixed interest rates
- Rollover anytime
- Loop any token
Need some more info on Teller? Here is a quick guide.
About Teller
Teller is offering a new primitive: perpetual loans without liquidations. Borrow using Bitcoin and 100+ alts. Lend and Earn compounding yield with no impermanent loss.
Ready to Start Bridging and Borrowing? Click Here